DIY braided leather bracelet with a magnetic or hook clasp
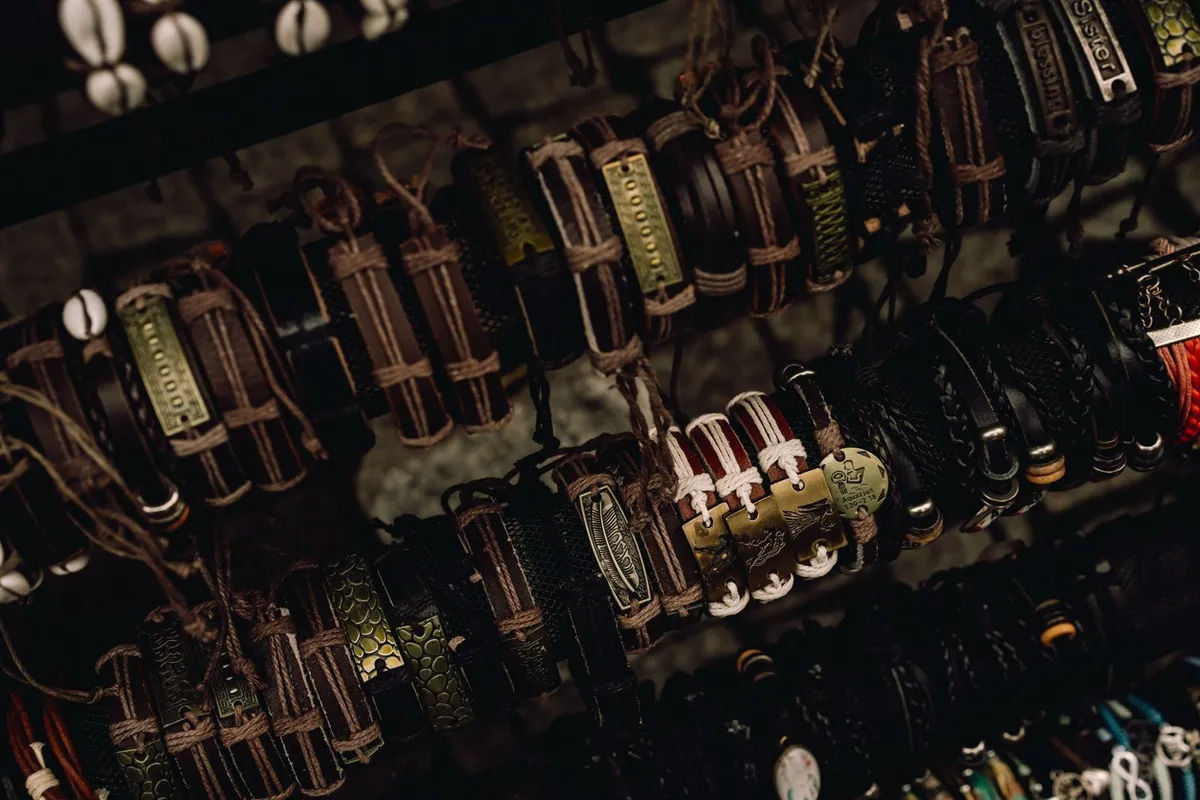
A braided leather bracelet is one of the most satisfying beginner jewellery projects. It needs only a few materials, takes under an hour, and the result looks far more expensive than it is. Make one in a single colour for an understated look, or mix tan, black and a pop of colour for something more playful. This guide covers a classic three-strand braid and a slightly rounder four-strand version.
Materials and tools
- Leather cord: round cord of about 2 to 3 mm thickness is easiest to braid. Flat cord also works and gives a wider, flatter band.
- Two end caps with an inner opening that fits your braided cord snugly. Measure the width of a braid sample before buying if you can.
- A clasp: a magnetic clasp is easy to open with one hand; a hook clasp is very secure. Many end caps come with the clasp already attached.
- Strong jewellery glue suitable for leather and metal (an epoxy or a jewellery-specific adhesive).
- Sharp scissors or a craft knife
- A tape measure
- Masking tape or a bulldog clip
- A toothpick for applying glue
- Optional: small pliers
Work in a well-ventilated space and follow the instructions on the glue packaging.
Measuring your wrist
- Wrap a soft tape measure, or a strip of paper, around your wrist just above the wrist bone.
- Add about 1.5 to 2 cm for a comfortable fit, more if you like a looser bracelet.
- Subtract the length of the clasp and end caps when closed. This gives you the length of braid you need.
- Cut each cord strand at least 10 cm longer than that braid length. Braiding takes up length, and you need extra to hold onto.
Example: a 16 cm wrist plus 2 cm ease gives 18 cm. If the clasp and caps measure 2 cm, you need 16 cm of braid, so cut each strand to around 26 cm.
The three-strand braid
- Line up three strands and tape the ends together firmly to the edge of a table, or clip them to a board.
- Spread the strands out: left, middle, right.
- Cross the left strand over the middle one, so it becomes the new middle.
- Cross the right strand over the new middle.
- Repeat, alternating left and right, keeping an even tension. Pull each strand snugly but not so tight that the braid curls.
- Check the length regularly against your measurement. When you reach it, tape the end tightly.
If you are using flat cord, keep the smooth side facing up as you cross each strand; a little twist at each step helps.
Optional: the four-strand round braid
Four strands produce a rounder, rope-like braid that looks great in two colours.
- Tape four strands together. If using two colours, place them alternately: A, B, A, B.
- Take the far-right strand, pass it behind the two strands to its left, then bring it forward over the strand closest to it, so it ends up in the middle.
- Take the far-left strand, pass it behind the two strands to its right, then bring it forward over the nearest one into the middle.
- Repeat steps 2 and 3, keeping the tension even.
It takes a few rounds to find the rhythm, so try a short practice piece first. Four strands make a thicker braid, so check that your end caps are large enough.
Glueing the end caps
- Make sure the taped ends are tight. Trim the braid so the end is straight and fits fully inside the cap, removing the tape just before inserting it if it adds bulk. Some people keep a narrow wrap of thread around the end instead, which holds the strands together without taking much space.
- Test the fit without glue. The braid should slide in with a little resistance.
- Using a toothpick, apply a small amount of glue inside the end cap and a thin coat on the end of the braid.
- Push the braid firmly into the cap, twisting slightly to spread the glue.
- Wipe away any excess immediately with a cloth.
- Repeat on the other end, checking that the clasp halves will line up and that the braid is not twisted.
- Leave to cure fully for the time the glue manufacturer recommends before wearing.
Finishing and care
- If there is a visible gap between the leather and the cap, a tiny dab of glue around the rim tidies it up.
- Keep the bracelet away from water as much as possible; leather can stiffen and glue can weaken with frequent soaking.
- Take it off before showering and swimming.
- Magnetic clasps should be kept away from cards and devices that are sensitive to magnets.
Wearing it
A leather bracelet adds texture next to a fine chain or a watch, and it balances a busy hand of stacking rings. If you love the warm look of leather, our guide to choosing a leather bag will help you pick a matching shade. For more handmade ideas, a simple mood board is a good way to plan colours before you buy cord.
This article may contain partner links. They never influence what we write.