DIY: a simple mood board for above your desk
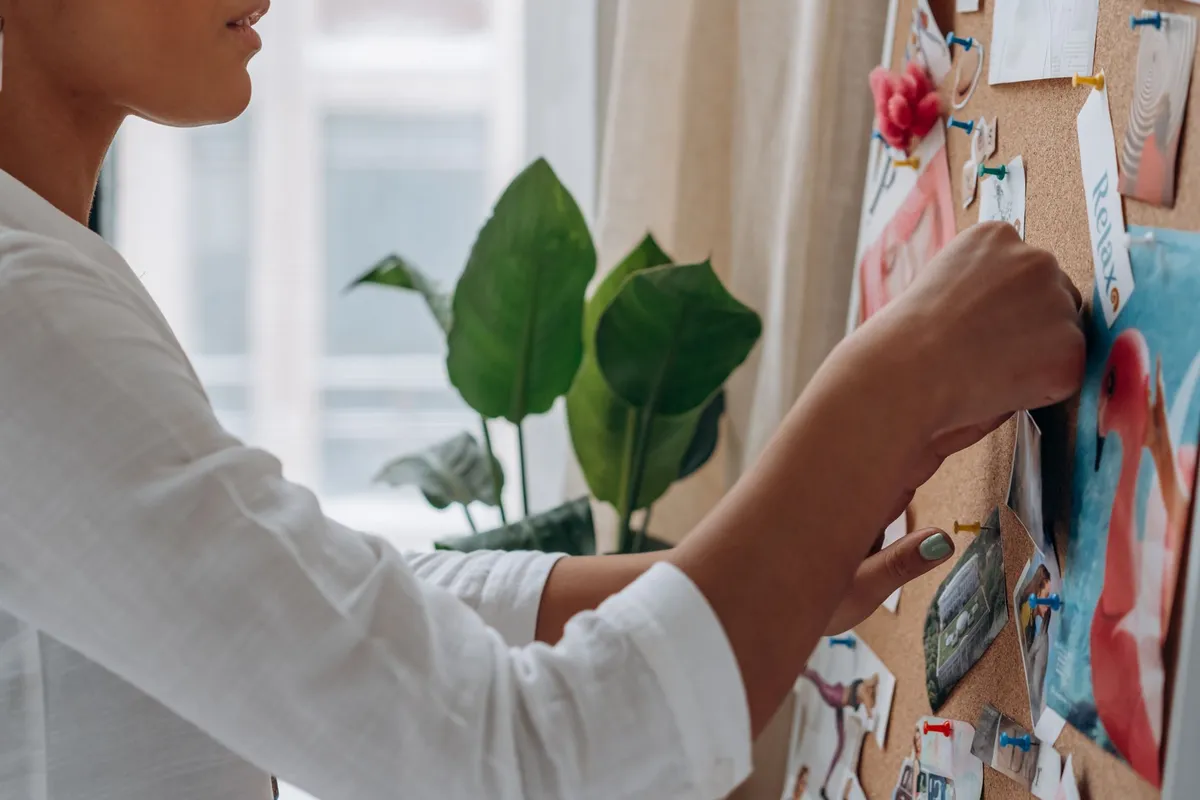
A mood board is a wall-sized notebook. It collects the colours, textures, shapes and images that catch your eye, and over time it shows you patterns you may not have noticed in your own taste. Hung above a desk, it also makes a workspace feel personal. The version below is deliberately basic: a board, some fabric, a few metres of ribbon and a handful of pins. It takes an afternoon, costs very little and can be updated whenever you like.
Materials
| Item | Notes |
|---|---|
| Cork board or foam board | Around 60 x 40 cm suits most desks. Foam board is lighter; cork holds pins more firmly. |
| Fabric | A piece about 10 cm larger than the board on every side. Linen, cotton or felt in a plain colour works best. |
| Thin batting (optional) | Gives a softer, padded look. |
| Ribbon or elastic | 3 to 5 metres, 1 to 2 cm wide, for a criss-cross grid. |
| Staple gun or strong glue | To fix fabric and ribbon at the back. |
| Pins | Drawing pins, decorative push pins or dressmaker’s pins. |
| Washi tape | For pieces you do not want to pierce. |
| Small buttons (optional) | To mark the crossing points of the ribbon. |
| Picture hooks or adhesive strips | For hanging. |
Step by step
- Cut the fabric. Lay the board on the wrong side of the fabric and cut around it, leaving a border of about 8 to 10 cm.
- Add batting if using. Cut it to the exact size of the board and place it between the board and the fabric.
- Wrap the board. Fold one long edge of fabric to the back and staple it at the centre. Pull the opposite side taut and staple. Repeat on the short sides, then work outwards towards the corners, keeping the tension even.
- Fold the corners like a neatly wrapped parcel and staple them flat.
- Create the ribbon grid. Lay ribbon diagonally across the front in one direction, spacing strips 10 to 15 cm apart, and staple the ends at the back. Repeat in the opposite direction to form diamonds.
- Secure the crossings. Push a pin through each crossing point or sew on a small button. This keeps the grid tight so postcards can be slipped behind it.
- Hang it. Use two picture hooks for a heavier cork board, or strong adhesive strips for foam board, at eye level when you are seated.
Collecting images
The board only becomes useful when it fills up. Some sources to collect from:
- Magazine cuttings: outfits, interiors, colour combinations, even an advertisement whose light or composition appeals to you.
- Postcards from exhibitions, shops or cafés.
- Fabric swatches and yarn in colours you love.
- Printed photos: your own snapshots of a shop window, a building or a plate of food that struck you.
- Small objects: a pressed leaf, a ribbon from a parcel, a paint chip from a DIY shop.
- Words: a handwritten note, a ticket stub, a typed phrase.
Do not edit too much at the collecting stage. Keep a box or envelope near your desk and drop things in for a week or two before arranging.
Composition tips
- Start with an anchor. Pick one large image and place it slightly off-centre. Everything else can be arranged around it.
- Group by colour or theme. Clusters look calmer than items scattered evenly across the board.
- Vary sizes. Mix big images with small swatches so the eye moves around.
- Leave space. A board crammed to the edges is hard to read. Aim for some fabric showing between groups.
- Layer. Tuck a postcard behind a ribbon, pin a swatch on top of it and let edges overlap.
- Use washi tape for delicate pieces such as photos you want to keep undamaged.
Keeping it changing
A mood board is not a finished artwork. Refresh it at least once a season: take everything down, keep the pieces that still speak to you and add new ones. Autumn might bring rust, burgundy and wool textures; spring might bring pastels and florals. Store retired items in an envelope labelled with the season so you can look back later.
Using it to clarify your style
Over a few months, the board tells you a lot. Step back and ask:
- Which colours keep appearing? If black, grey and white dominate, a monochrome capsule wardrobe might suit you.
- Which shapes and textures recur? Soft knits, structured tailoring, flowing dresses?
- What is missing from your wardrobe compared with the board?
- What do you pin but never wear? Sometimes we admire a style without wanting to live in it, and that is useful to know too.
Use the answers when shopping or sorting your wardrobe. A clear picture of what you love makes it easier to resist impulse buys that do not fit.
Other ideas with the same board
The same technique works for a jewellery display: pin earrings through the fabric and hang fine necklaces from the ribbon grid. It is also a good place to plan a creative project, such as a braided leather bracelet, by pinning cord samples and colour ideas side by side before you start.
This article may contain partner links. They never influence what we write.