How to sew on a button: two-hole, four-hole and shank buttons
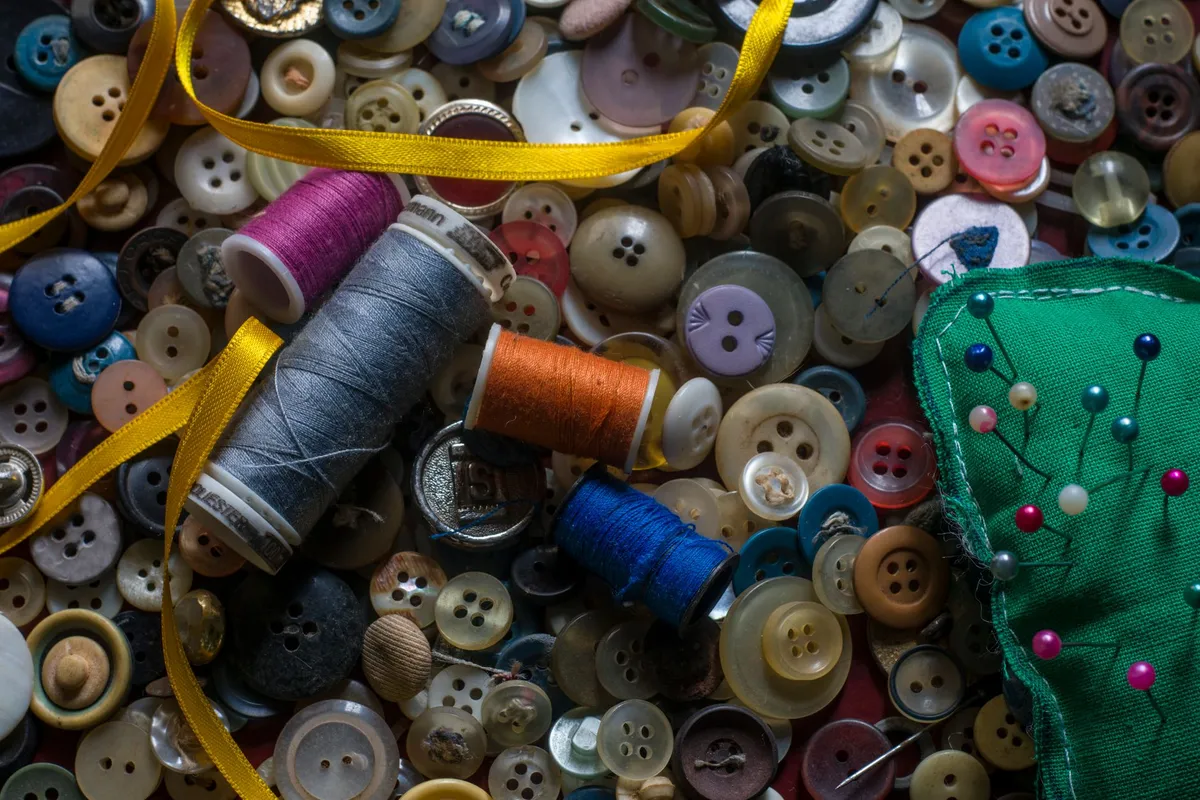
A missing button is one of the most common reasons good clothes end up at the back of the wardrobe. Yet sewing one back on takes about ten minutes and needs no machine, no pattern and very little skill. Learn it once and you can rescue shirts, coats, trousers and cardigans for years. Here is how to do it properly, so the button stays on and the garment still closes neatly.
What you need
- A needle of medium size, with an eye large enough for your thread.
- Thread in a matching colour. All-purpose polyester thread works for most clothes; for coats and heavy fabrics, use a stronger button or upholstery thread.
- Scissors or small snips.
- A pin, matchstick or toothpick to create space under the button.
- The button. Many shirts and coats come with spare buttons sewn inside a seam or on the care label. Check there before buying a new one.
A thimble is helpful for thick fabrics, and a little beeswax run along the thread stops it tangling.
Find the right position
If the button fell off, there are usually still tiny holes or a few thread ends marking its place. If not, button the garment up, lay it flat and push a pin through the buttonhole into the fabric beneath. The middle of the buttonhole is where the centre of the button should go. On a shirt, check that the new button lines up with the others along the placket.
Sewing a two-hole or four-hole button
1. Prepare the thread
Cut a length of thread about the length of your arm. Thread the needle and pull both ends together so you sew with a doubled thread. Tie a knot at the end. A doubled thread means you need fewer passes and the button holds better.
2. Anchor the thread
Start on the right side of the fabric, at the spot where the button will sit, so the knot will be hidden under the button. Make one or two tiny stitches on the spot to lock the thread in place.
3. Place the button and a spacer
Bring the needle up through one hole of the button. Lay a pin or toothpick across the top of the button, between the holes. This spacer keeps the stitches slightly loose, which you will need for the shank.
4. Sew through the holes
Go down through the opposite hole, over the spacer, and through the fabric. Come back up through the first hole. Repeat this five or six times with doubled thread, or more on a coat.
For a four-hole button, choose a pattern:
| Pattern | How to sew it | Look |
|---|---|---|
| Two parallel bars | Sew one pair of holes, then the other pair | Classic, common on shirts |
| Cross | Sew diagonally, holes 1–3 then 2–4 | Slightly decorative |
| Square | Sew each side of the square | Strong, less common |
Whatever the pattern, keep the stitches the same on every button of the garment.
5. Make the thread shank
Remove the spacer. Bring the needle up between the button and the fabric, but not through the button. Wind the thread tightly around the stitches under the button five or six times. This creates a short stem, the shank, which lifts the button off the fabric and leaves room for the layer with the buttonhole. Without it, the button sits too tight and the fabric puckers when buttoned.
6. Finish off
Push the needle through to the wrong side of the fabric. Make a few small stitches through the threads on the back, or form a small loop and pass the needle through it twice to make a knot. Cut the thread close to the knot.
Sewing a shank button
Some buttons have a small loop on the back instead of holes. These are common on coats, blazers and cardigans. They already have a shank, so there is no need for a spacer.
- Anchor the thread as above.
- Hold the button so the loop sits parallel to the edge of the buttonhole.
- Sew through the loop and the fabric five or six times.
- Finish on the wrong side with a knot.
Coats and heavy fabrics
Buttons on a coat take a lot of strain. A few extra steps help:
- Use a stronger thread and make the shank a little longer, because the fabric is thicker.
- Add a small flat backing button on the inside of the coat, sewn at the same time as the main button. It spreads the strain and stops the thread tearing through the cloth.
- On knitted cardigans, a tiny square of felt or fabric on the inside does the same job.
Common mistakes
- Sewing too tight. No shank means a button that is hard to fasten and fabric that puckers.
- Using a single thread. It will break much sooner.
- Visible knots on the outside. Start under the button so it hides the knot.
- Wrong colour. On a white shirt, any dark thread shows through the holes.
Once you can sew on a button, other quick repairs follow naturally: a dropped hem, a loose seam, a fresh hem on old jeans. It is also worth replacing plain buttons to update a jacket, a small change that can transform a denim shirt or a cardigan without buying anything new.
This article may contain partner links. They never influence what we write.