Nail art: geometric nails with tape
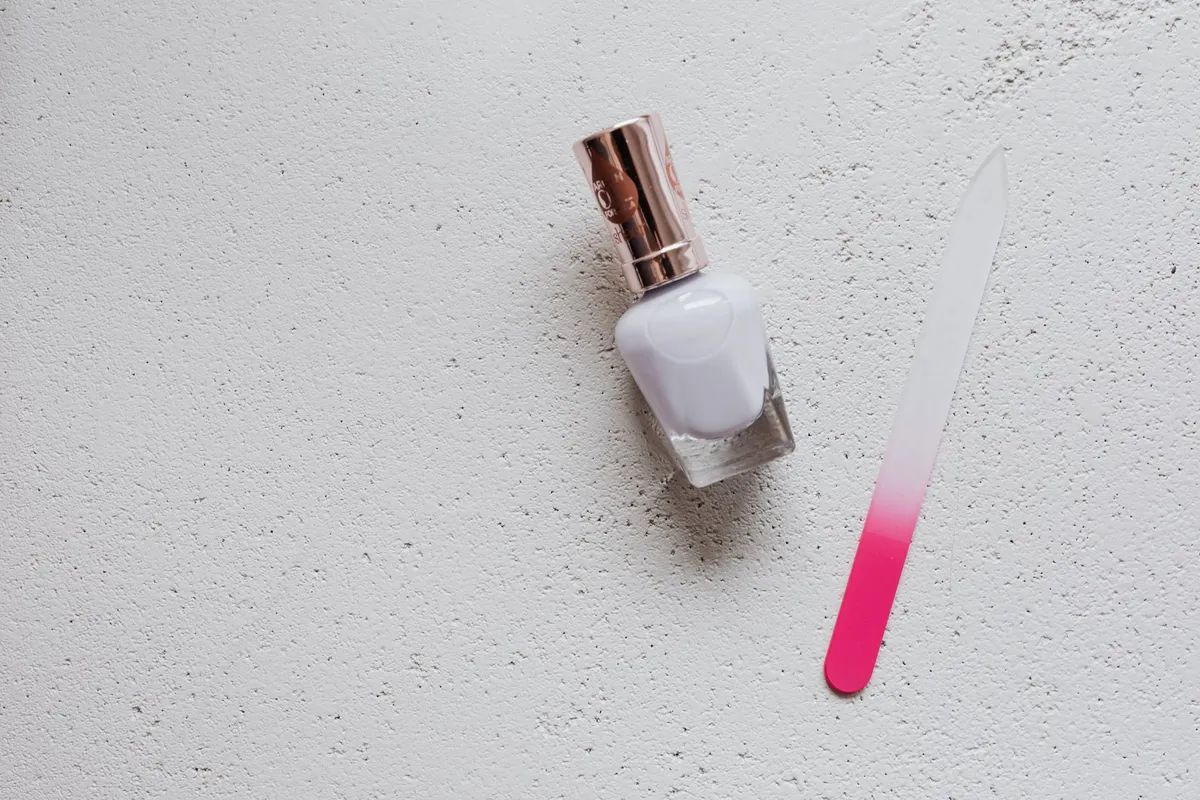
Geometric nail art looks as if it needs a steady hand. In reality, the crisp lines come from tape. With a roll of striping tape (or ordinary masking tape cut into thin strips), a white polish and one or two contrast shades, you can paint triangles, half-moons and blocks of colour that look precise from across the room and up close. This guide walks through the method, the shapes worth trying first and the small mistakes that ruin a clean edge.
What you need
The kit is short, and most of it is probably already in a drawer.
- Base coat, to protect the nail and help the colour grip.
- A white or pale polish as the first layer. White makes every other colour pop and hides uneven nails.
- One or two contrast polishes: black, navy, red, coral or a metallic all work well against white.
- Tape: nail striping tape (very thin, sold in rolls) or low-tack masking tape cut into strips with scissors. Washi tape also works and peels off cleanly.
- Top coat, preferably a quick-drying one.
- A small flat brush or a cotton bud and nail polish remover for clean-up.
- Tweezers, which make placing and lifting tape far easier.
If you also enjoy dots, our guide to nail art with a dotting tool uses the same base and top coat, so you can combine both techniques on one set of nails.
Step by step
- Prepare the nails. File them to the same shape, push back cuticles gently and wipe each nail with remover so there is no oil left on the surface.
- Apply a base coat, then two thin coats of white. Thin layers dry faster and are less likely to lift when the tape comes off.
- Wait. This is the step everyone skips. The base colour must be fully dry, not just touch-dry, before tape goes on. Give it at least 20 to 30 minutes; longer is better.
- Dab the tape first. Press each piece of masking tape onto the back of your hand once or twice to reduce its stickiness. Striping tape is usually gentle enough as it is.
- Place the tape to mark out your shape, pressing the edges down firmly with a fingernail or the back of the tweezers. Any gap is where polish will bleed.
- Paint the contrast colour over the exposed area, one thin coat, overlapping the tape slightly.
- Peel the tape while the polish is still wet, pulling it away from the painted area at a low angle. Waiting until it dries tends to drag the edge with it.
- Let it dry, then seal with a generous top coat, capping the free edge of the nail.
Shapes to try
Triangles
Place two strips in a V shape, point towards the cuticle or towards the tip, and fill the triangle between them. A single triangle on an accent nail is an easy first project.
Half-moons
Use round reinforcement stickers (the kind made for hole-punched paper) or cut a curve in a piece of tape. Stick it near the cuticle and paint above it for a reverse French effect, or paint the moon itself in metallic for a 1930s feel.
Colour blocking
Divide the nail diagonally or straight down the middle with one strip and paint each half a different shade. Three blocks in white, black and one bright colour is a classic combination that goes with almost any outfit.
Negative space
Here the bare nail becomes part of the design. Skip the white layer, apply only a clear base, then tape off stripes or triangles and paint around them. When the tape comes off, the natural nail shows through in clean shapes. This look is subtle enough for the office and grows out more gracefully than full colour.
| Shape | Difficulty | Tape needed | Good first colours |
|---|---|---|---|
| Single triangle | Easy | 2 strips | White and black |
| Colour block | Easy | 1 strip | White, navy, coral |
| Half-moon | Medium | Round stickers | Nude and gold |
| Negative space stripes | Medium | 2 to 3 strips | Clear and black |
| Multiple triangles | Harder | Several short strips | White, red, grey |
Mistakes to avoid
- Taping over damp polish. The tape lifts the base layer and leaves a rough patch. Patience solves this.
- Thick coats of contrast colour. A heavy layer forms a ridge along the tape line and peels away with it. Two thin coats beat one thick one.
- Pressing the tape loosely. Run along each edge firmly, especially near the curve of the nail where tape tends to float.
- Pulling the tape straight up. Lift it back on itself, low and steady, away from the fresh paint.
- Too many ideas on one hand. Pick one shape and repeat it, or keep it to a single accent nail.
Top coat and clean-up
A good top coat smooths the slight step between colours and helps the design last. Apply it once the art is dry to the touch, and add a second coat a day later if you want extra shine.
For clean-up, dip a small flat brush or a pointed cotton bud in remover and trace around the cuticle and sidewalls. Finish with a little hand cream or cuticle oil, which also pairs well with the general care in our simple skincare routine.
If you are trying a new polish, remover or top coat, test it on one nail first and stop using any product that irritates the skin around your nails.
Geometric designs on a white base usually look their best for three to five days; a fresh layer of top coat every couple of days helps them go the distance.
This article may contain partner links. They never influence what we write.